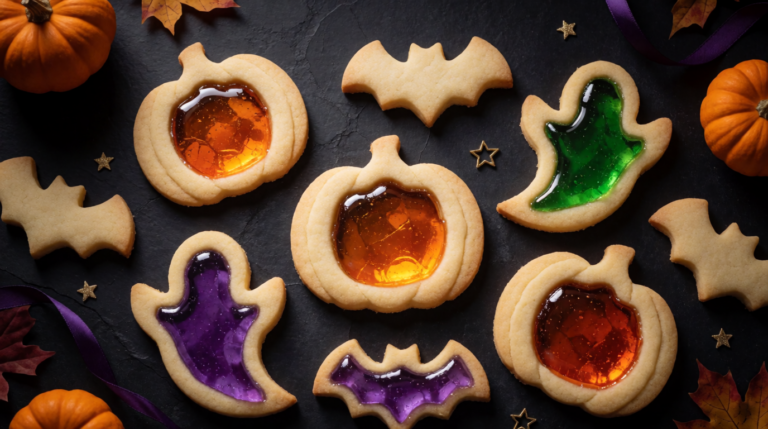


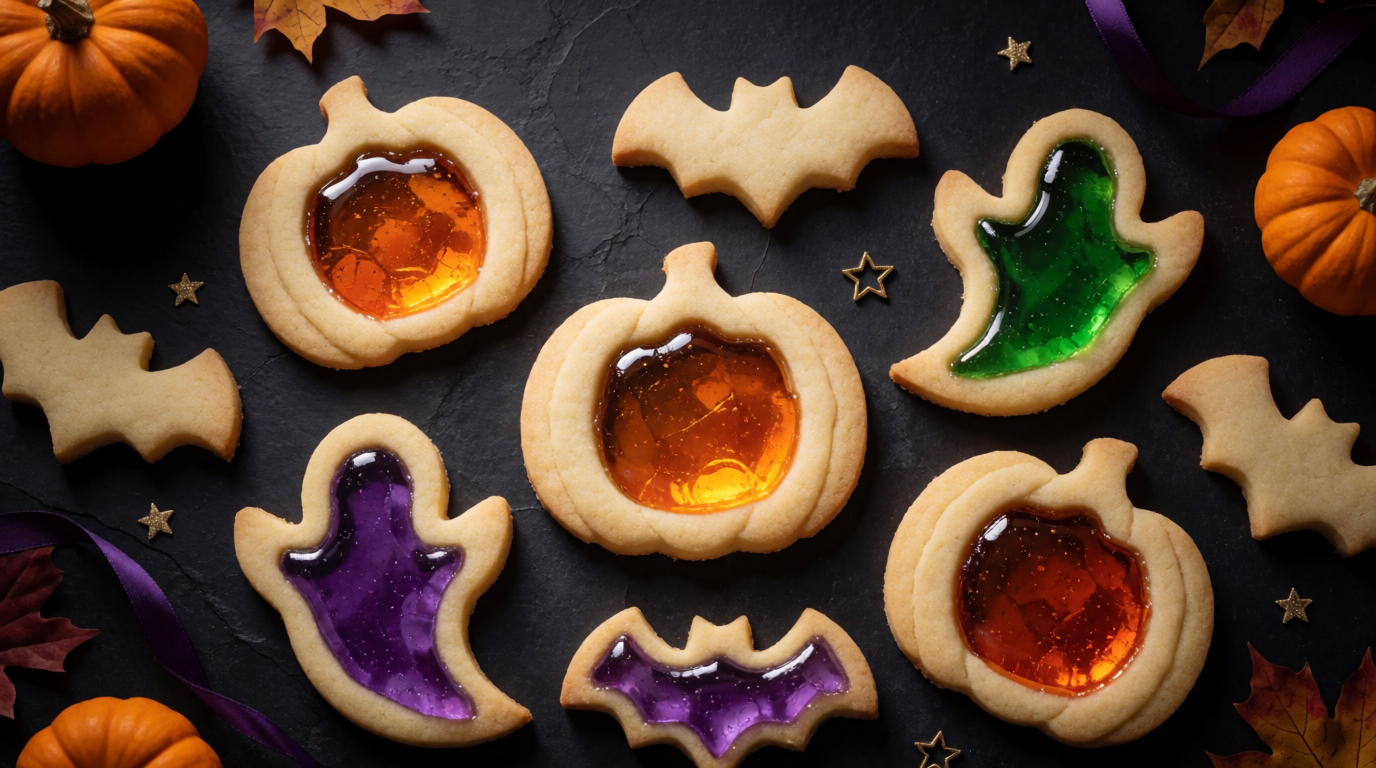

Looking for a Halloween cookie recipe that looks as magical as it tastes? These Halloween stained glass cookies combine buttery vanilla sugar cookies with colorful, translucent candy centers. Each cookie looks like a tiny Halloween window filled with orange, purple, or green glass.
These festive cookies are perfect for Halloween parties, spooky dessert boards, and homemade holiday gifts. The colorful centers catch the light beautifully, making them a fun addition to your Halloween baking plans.
Why You’ll Love These Halloween Stained Glass Cookies
- Beautiful Halloween colors: Orange, purple, and green candy centers create a striking stained glass effect.
- Simple ingredients: The cookie dough uses familiar pantry staples.
- Creative shapes: Make pumpkins, ghosts, bats, or classic round cookies.
- No complicated icing: The melted candy provides the decoration.
- Great for celebrations: These cookies look beautiful on a Halloween dessert table.
What Are Stained Glass Cookies?
Stained glass cookies are cut-out sugar cookies with a smaller opening in the center. Before baking, the opening is filled with crushed translucent hard candy.
As the cookies bake, the candy melts and spreads into a colorful window. Once cooled, the candy becomes firm again, creating the stained glass appearance.
For this Halloween version, we use spooky cookie cutters and bright seasonal colors to give the traditional technique a playful twist.
Ingredients You’ll Need
For the Sugar Cookie Dough
All-purpose flour: Provides structure and helps the cookies hold their cut-out shapes.
Unsalted butter: Gives the cookies a rich, buttery flavor.
Granulated sugar: Sweetens the dough and helps create lightly crisp edges.
Egg: Binds the ingredients together.
Vanilla extract: Adds a classic sugar cookie flavor.
Baking powder and salt: Balance the texture and flavor.
For the Colorful Candy Windows
Choose translucent hard candies in orange, purple, and green. Jolly Ranchers, Life Savers, or similar candies can work well.
Avoid creamy or opaque candies because they will not create the same transparent stained glass appearance.
How to Make Halloween Stained Glass Cookies
Step 1: Prepare the Cookie Dough
Whisk the flour, baking powder, and salt in a medium bowl. In another bowl, beat the softened butter and sugar until light and creamy. Mix in the egg and vanilla, then gradually add the dry ingredients.
Step 2: Roll and Chill the Dough
Divide the dough into two portions. Roll each portion between sheets of parchment paper to about 1/4-inch thickness. Refrigerate for at least one hour, until firm.
Step 3: Prepare the Candy
Separate the hard candies by color. Place each color in a sturdy bag and gently crush the candies into small pieces using a rolling pin.
Step 4: Cut the Halloween Shapes
Preheat the oven to 350°F (175°C). Line baking sheets with parchment paper. Cut the chilled dough into Halloween shapes, then use a smaller cutter to remove the center of each cookie.
Step 5: Fill the Centers
Arrange the cookies on the prepared baking sheets. Fill each center opening about two-thirds to three-quarters full with crushed candy. Avoid spilling candy onto the cookie edges.
Step 6: Bake Until the Candy Melts
Bake for approximately 10–12 minutes, until the cookie edges are lightly golden and the candy centers have melted. Watch carefully because baking times vary by cookie size and oven.
Step 7: Cool Completely
Leave the cookies on the parchment-lined baking sheets until the candy centers are completely cool and solid. Do not touch the melted candy while it is hot.
Tips for Perfect Stained Glass Cookies
- Chill the dough: Cold dough helps the Halloween shapes retain their edges.
- Use parchment paper: Melted candy can stick firmly to an unlined baking sheet.
- Crush candies into small pieces: This helps them melt more evenly.
- Don’t overfill the centers: Too much candy may overflow onto the cookie dough.
- Work with one dough portion at a time: Keep the remaining dough chilled.
- Allow complete cooling: The candy windows need time to harden before lifting the cookies.
Creative Halloween Decorating Ideas
Orange Pumpkin Cookies
Use pumpkin-shaped cookie cutters with orange candy centers. The glowing orange windows make these cookies especially festive.
Purple Bat Cookies
Cut bat-shaped cookies and add purple candy to the center openings. Their dramatic color looks beautiful against a dark serving platter.
Green Ghost Cookies
Use ghost-shaped cutters with bright green candy centers for a playful Halloween twist.
Mixed-Color Halloween Windows
Combine a few pieces of different candy colors in a single opening to create a marbled effect. For the clearest stained glass appearance, avoid mixing too many colors.
How to Store Halloween Stained Glass Cookies
Store completely cooled cookies in an airtight container at room temperature for up to five days. Place parchment paper between layers to help protect the candy windows.
Keep the container in a cool, dry location. Humidity can make hard candy centers sticky over time.
Can You Make These Cookies Ahead of Time?
Yes! Prepare and refrigerate the cookie dough up to two days ahead. You can also freeze the unbaked dough for longer storage.
For the best appearance, bake the cookies close to your Halloween celebration so the candy windows stay clear and glossy.
Frequently Asked Questions
What candy works best for stained glass cookies?
Translucent hard candies such as Jolly Ranchers or Life Savers are good options. Choose colors that fit your Halloween theme.
Why did my stained glass cookies spread?
The dough may have been too warm. Chill the rolled dough thoroughly before cutting and baking.
Why are my candy centers cloudy?
Some candies become bubbly or cloudy when overheated. Watch the cookies carefully and remove them once the candy has melted.
Can children help make these cookies?
Children can help choose shapes and arrange decorations under adult supervision. Adults should handle the oven and hot melted candy.
Can I use different cookie cutter shapes?
Absolutely! Pumpkins, ghosts, bats, stars, and circles all work. Choose shapes with enough dough surrounding the center opening to prevent breakage.
Final Thoughts
These Halloween stained glass cookies bring together buttery sugar cookie flavor and beautiful candy windows in festive seasonal colors.
Whether you’re preparing a Halloween party platter or planning a fun weekend baking project, these colorful cookies make a memorable homemade treat.
Try different Halloween shapes and candy combinations to create your own spooky stained glass collection!
Sources & Baking References
- Sally’s Baking – Stained Glass Window Cookies
- King Arthur Baking – Stained Glass Cookies
- King Arthur Baking – Stained Glass Cookies Baking Tips
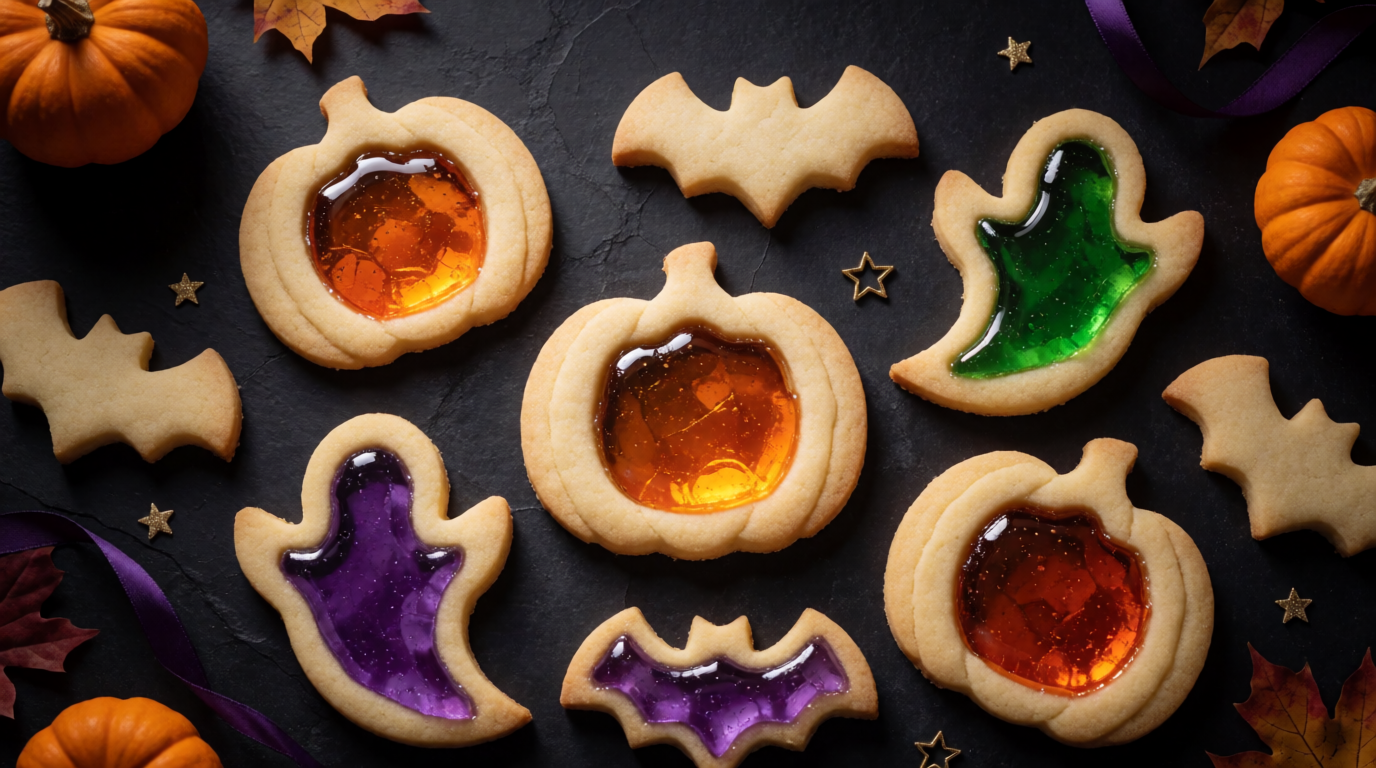
Halloween Stained Glass Sugar Cookies
Ingredients
Equipment
Method
- Mix the Dry Ingredients
- Whisk together the flour, baking powder, and salt in a medium bowl.
- Cream the Butter and Sugar
- Beat the softened butter and granulated sugar for 2–3 minutes until light and creamy.
- Finish the Dough
- Add the egg and vanilla extract. Mix until combined. Gradually add the dry ingredients and mix just until a soft dough forms.
- Roll and Chill
- Divide the dough in half. Roll each portion between parchment sheets to 1/4-inch thickness. Refrigerate for at least 1 hour until firm.
- Crush the Candies
- Separate the orange, purple, and green candies into different bags. Crush into small pieces using a rolling pin.
- Preheat and Cut
- Preheat the oven to 350°F (175°C). Line baking sheets with parchment paper. Cut the chilled dough into Halloween shapes, then cut a smaller window in each center.
- Fill the Windows
- Place cookies about 2 inches apart. Fill each opening approximately 2/3–3/4 full with crushed candy. If desired, brush the dough lightly with water and sprinkle with sparkling sugar.
- Bake the Cookies
- Bake for approximately 10–12 minutes, until the cookie edges are lightly golden and the candy has melted. Watch carefully to prevent burning.
- Cool Completely
- Leave the cookies on the parchment-lined baking sheets for about 20 minutes, or until the candy centers are fully solid. Gently remove and serve.